Installing Anka
Download and install
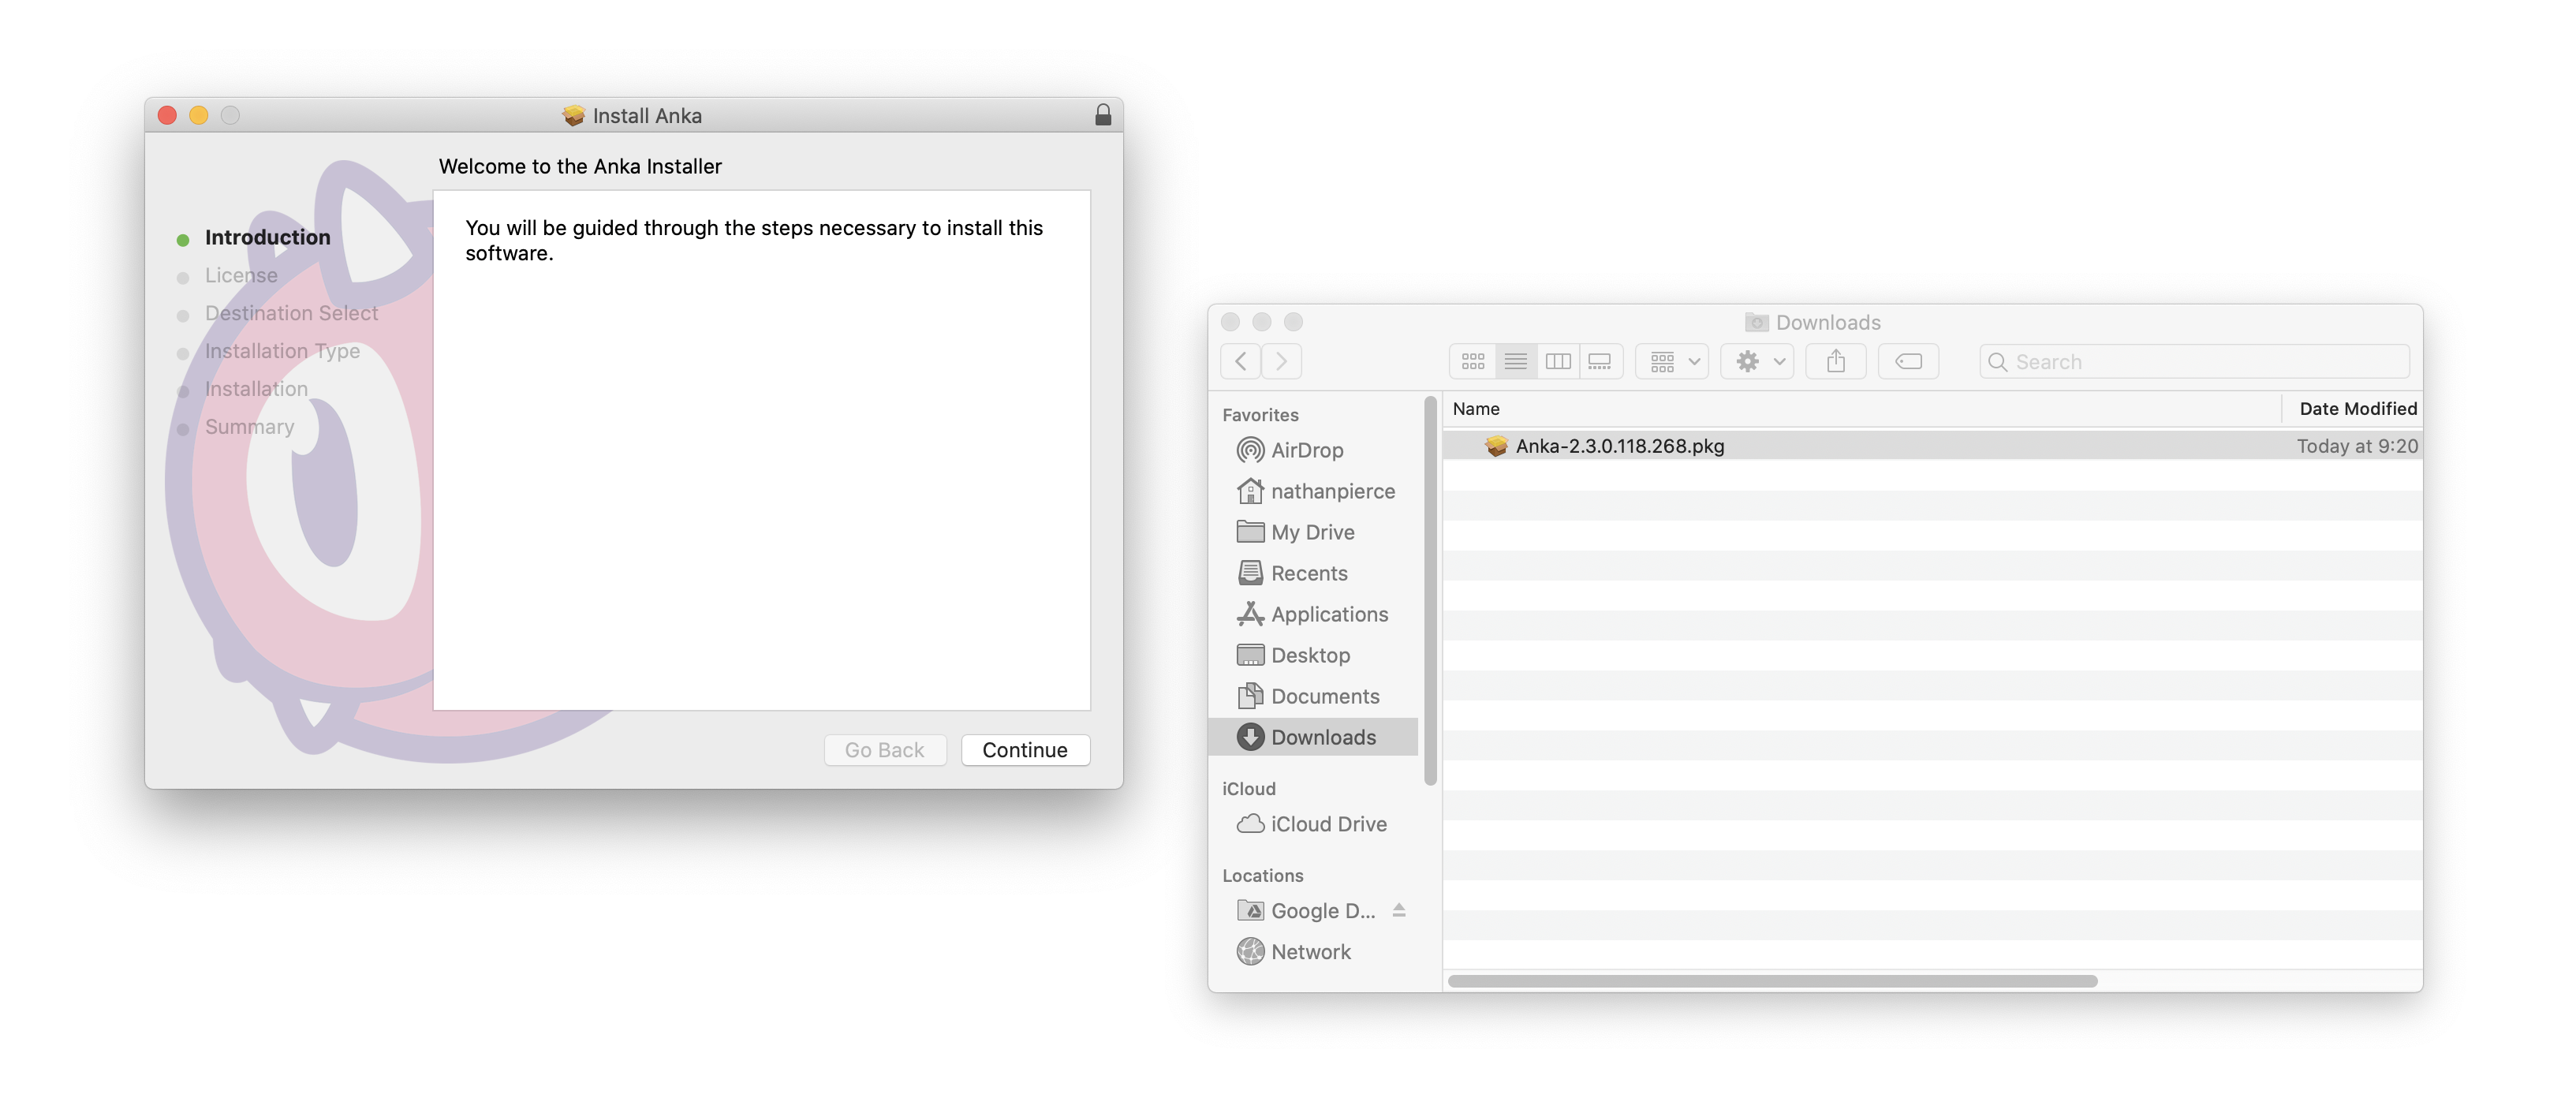
You can find the installation packages on the veertu.com website. Once downloaded, double click the .pkg to start the installation process.
Nested Virtualization
If you need Nested Virtualization to run Docker inside of the VM, you can find it by clicking the
Customizebutton on the Installation Type stage of the interactive installer.Or, by adding the
applyChoiceChangesXMLto the installer command in your terminal:sudo installer -applyChoiceChangesXML nanka.xml -pkg AnkaVirtualization.pkg -target /.nanka.xml
<?xml version="1.0" encoding="UTF-8"?>
<!DOCTYPE plist PUBLIC "-//Apple//DTD PLIST 1.0//EN" "http://www.apple.com/DTDs/PropertyList-1.0.dtd">
<plist version="1.0">
<array>
  <dict>
    <key>attributeSetting</key>
    <integer>1</integer>
    <key>choiceAttribute</key>
    <string>selected</string>
    <key>choiceIdentifier</key>
    <string>nested</string>
  </dict>
</array>
</plist>
Finally, when you generate your base VM Template, be sure to enable it with:
anka modify {vmNameOrUUID} set nested 1Internally, only Docker is supported at this time.
Verify the installation
❯ anka version
Anka version 2.X.X (build XXX)
(alternative) Download and install with your terminal
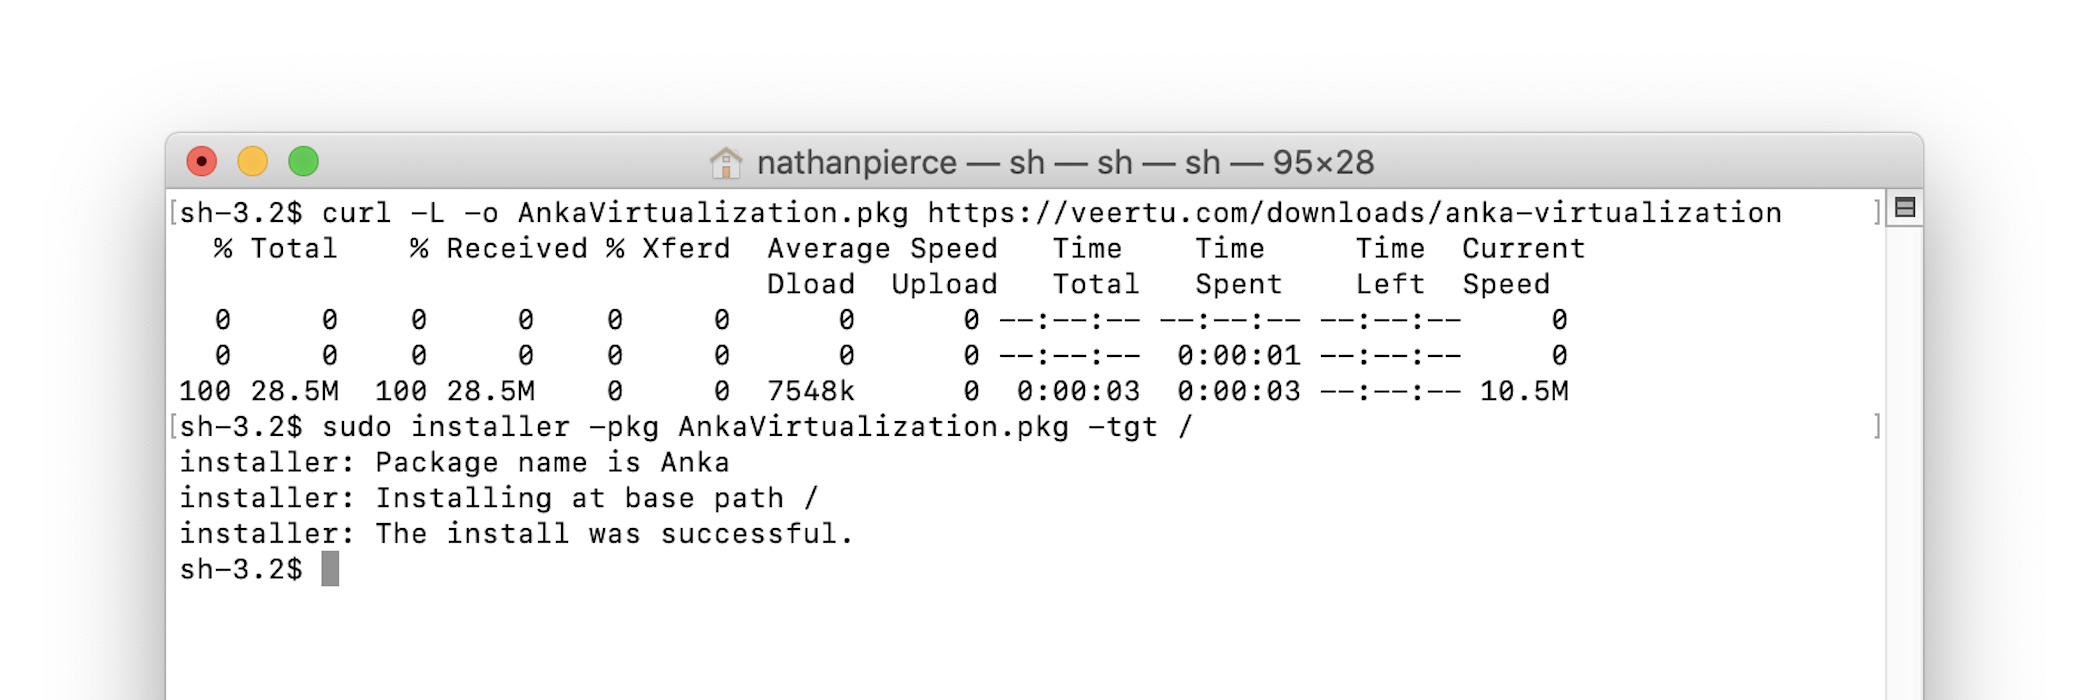
FULL_FILE_NAME="$(curl -Ls -r 0-1 -o /dev/null -w %{url_effective} https://veertu.com/downloads/anka-virtualization-latest | cut -d/ -f4)"
curl -S -L -o ./$FULL_FILE_NAME https://veertu.com/downloads/anka-virtualization-latest
sudo installer -pkg $FULL_FILE_NAME -tgt /
Feedback
Was this page helpful?
Glad to hear it! Please tell us how we can improve.
Sorry to hear that. Please tell us how we can improve.